Showing posts with label household items. Show all posts

Thursday, September 13, 2012

Pandora's hatbox

Pandora's Hatbox is surprisingly easy to make. You can follow the steps in the blog posts I've been making or, if it's easier for you, buy a fully illustrated step-by-step guide to doing it for just USD$5.00 at my etsy store. Don't forget to come back to the blog next week to see what my next project will be.

Thursday, September 6, 2012

Every hatbox has a lining

I've sent you to Marinni's LiveJournal page before, for gorgeous vintage hat and hatbox images. That's where I got this inspirational pic for a hatbox lining. Mine will perhaps not be quite so fancy because I have to allow for the fitting of the lid on my papier mâché box.

For my lining, I'm going to recycle some crinkly silk-look fabric from an old favourite skirt whose seams have passed their use-by date. This will be applied to a cardboard insert cut to fit inside the lid and base of the box, as well as inside the barrel of the box. I'll use paper inside the rim of the lid, to save thickness and make sure that the lid still fits on the box!

Tuesday, September 4, 2012

Pandora's hatbox

To finish Pandora's Hatbox, I used gold thread to gather the top edge of the braid so it will sit flat. I had already drilled the holes for the split pins, so it was simply a matter of securing them. Now I only need to add the lining: check back in a couple of days to see how. If you want all the instructions, I'll have the pattern in my etsy store soon.

Thursday, August 30, 2012

Studs in Pandora's hatbox

Today I began applying the studs to Pandora's Hatbox. The studs I'm using are gold-coloured split pins that I bought from a scrapbooking supplies store. I bought them in two sizes, 8mm for the braids and 4mm for the monogram.

I'd originally planned to punch the holes for the pins with an awl, but I found that the shape of the round hatbox made this too difficult to manage and so I switched to a hand-held electric drill with a fine (2mm) bit instead.

First I drilled the holes through the braids on the sides of the hatbox, starting about 6mm (a quarter of an inch) above the base and spacing them evenly up the braid. As you can see from the image above, I stopped below the point where the lid will reach.

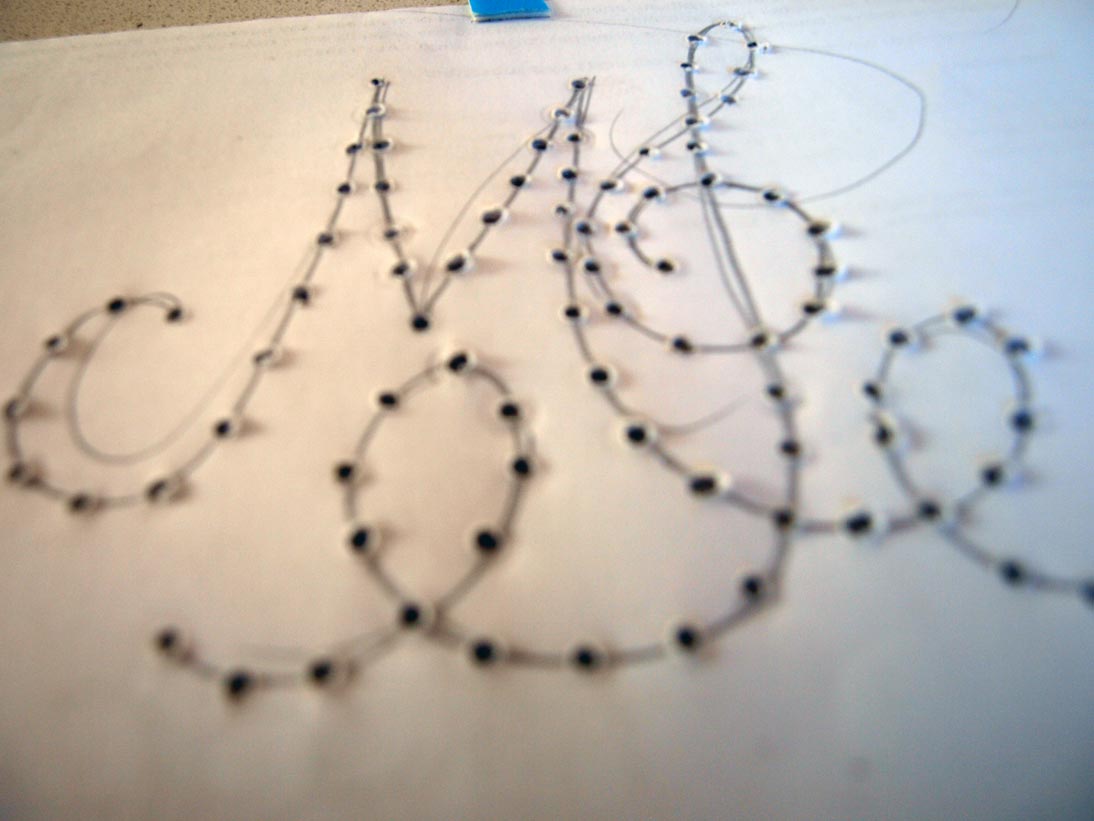
The next step was to refer to my my visual journal. I copied the monogram that I had sketched in the journal onto a sheet of scrap paper and taped it onto the centre of the hatbox lid. Then I drilled the holes for the studs right through the paper and the leather-covered lid.

The easiest part is placing the studs; simply push the split pins through the holes and flatten the tabs at the back to hold them in place. For extra security, I turned the lid over and laid it stud-side down on a folded towel, then pressed the tabs even flatter by  tapping them with a tack hammer.

Thursday, August 23, 2012

Pandora's hatbox in leather

The first stage in the decoration of Pandora's Hatbox is to cover it in the faux crocodile skin fabric I bought at the craft store. One tip to note when planning to use this type of vinyl fabric is that it can easily be marked by scratches in the store, and it will also develop creases if you fold it. I stored my fabric by hanging it from the clips of a skirt hanger until I was ready to use it, but you could also wrap it around a cardboard mailing tube.
After you've carefully measured the box you want to cover, you can mark the pieces on the back (fabric) side of the vinyl and cut them out. I used a spray-on craft glue to adhere the larger pieces to the hatbox (the top of the lid and around the barrel).
Before I added the strip around the edge of the lid, I used a craft knife to cut four slits evenly around the edge (you can see one in the picture); this was because the lid was a pretty tight fit even before I added the vinyl covering to the barrel and I needed to make room. The slits will be hidden by the vinyl strip. I also worked around the edge of the lid with a pair of fabric shears to trim off excess vinyl, although I didn't worry too much about getting an exact fit, as the edges will be covered by the trim eventually.
For the edge strip, I used a liquid craft glue which I spread over the back of the strip. I did this for two reasons: to ensure a stronger bond on a part of the box that will get a lot of wear and tear, and because it would have been a pain in the neck to protect the vinyl that was already applied to the lid while I was spraying adhesive.
At the same time, I covered the small cardboard suitcase with the same vinyl fabric. This was a little trickier than the hatbox because of the handle and catch, which couldn't be removed. The excess bits of vinyl in the picture are just there to protect the finish from being marked by the bulldog clips that are holding the vinyl in place while the glue dries. I won't go into details here, but if you want tips on how I cut the vinyl to fit around the fixtures, join my email list (use the box in the sidebar) and I'll let you know when the full pattern and instructions will be available.

Wednesday, August 22, 2012

More objects of desire

Looking for inspiration for the lining and cover of my Pandora's Hatbox, I came upon this blog. I can't read the Cyrillic captions, but the pictures are drool-worthy.

Tuesday, August 21, 2012

Pandora's hatbox

Remember the $5,000.00 Victorian leather hatbox I coveted a month or so ago? Of course I can't afford to buy it, so I've decided to make my own. At the craft store I bought a plain cardboard hatbox (and a cute little suitcase, too), then headed for the fabric counter for some faux crocodile skin vinyl and other trim and accoutrements. I may have gone a teeny bit berserk in the haberdashery section, with braid and tape and studs and so on....  I'll post step-by-step updates as I complete each stage of the construction.

Wednesday, July 18, 2012

Morlocks... er, more locks

A trip to my local hardware store yielded this bonanza of fancy brass catches, hinges and hasp-and-staple locks, one of which will be perfect for the Map of the Future journal cover, while the others will come in handy as decorations for belts, bags and other steampunk accessories in the future.

Wednesday, July 11, 2012

Lovely locks

Humans have been locking up their precious things since time immemorial; the first lock was probably a stone placed in front of a niche in a cave. These days, many things are secured by electronic locks with PINs or remote controls.

You can't go past a good, old-fashioned mechanical lock for strength and beauty, though. Here are a few examples I found online: just gorgeous!  (Click on the pictures to go to the source.)

Wednesday, June 27, 2012

Object of desire

Got a spare five grand? If you have, why not spend it on this marvellous nineteenth century hatbox (from Yale R. Burge Antiques)? It would be perfect for storing your top hat or bowler, or just as useful to rest a delicate porcelain tea cup on. I'm so inspired by the brass details and studwork: I wonder how difficult it would be to recreate this piece in modern materials? I think a trip to the craft and hardware stores is in order...

Wednesday, June 20, 2012

Victorian secrets

My partner recently confessed that he loves the kind of antique furniture with secret compartments, and so do I. Apart from the obvious use of the hidden cavities (secreting illicit love letters, or precious jewels), there is the opportunity to imagine all sorts of mischief that could arise from having access to one of these drawers. Of course, the ultimate secret compartment is the Bat Cave, or Thunderbird Island, but it's much more realistic to dream of owning a Georgian escritoire or cabinet.

Thursday, June 14, 2012

Op shopping

A recent trip to my local opportunity shop netted a few good finds for future steampunk-style craft projects. A wooden cane, begging to be steampunked; a couple of leather belts that will make useful straps (or belts); and a wooden clock that, once deflowered, will be a perfect addition to steampunk decor. My favourite find was the vintage atlas: a hardcover book with pages large enough to get my imagination working in all sorts of ways. Keep an eye on this blog for craft project ideas featuring these and other op shop finds in the near future!

Wednesday, June 13, 2012

Ecotech

Sustainable bamboo is used to make this stylish wireless keyboard and mouse. The woodlike texture of the bamboo keyboard gives it an air of originality: it's not quite steampunk style, but it's a step closer than plastic. At least until you get around to buying or making a steampunk computer

Pure Bamboo has a range of techy accessories as well as fashion items, all environmentally friendly.